Stealth Information
LEARN MORE ABOUT OUR STEALTH INSTALLATION PROCESS
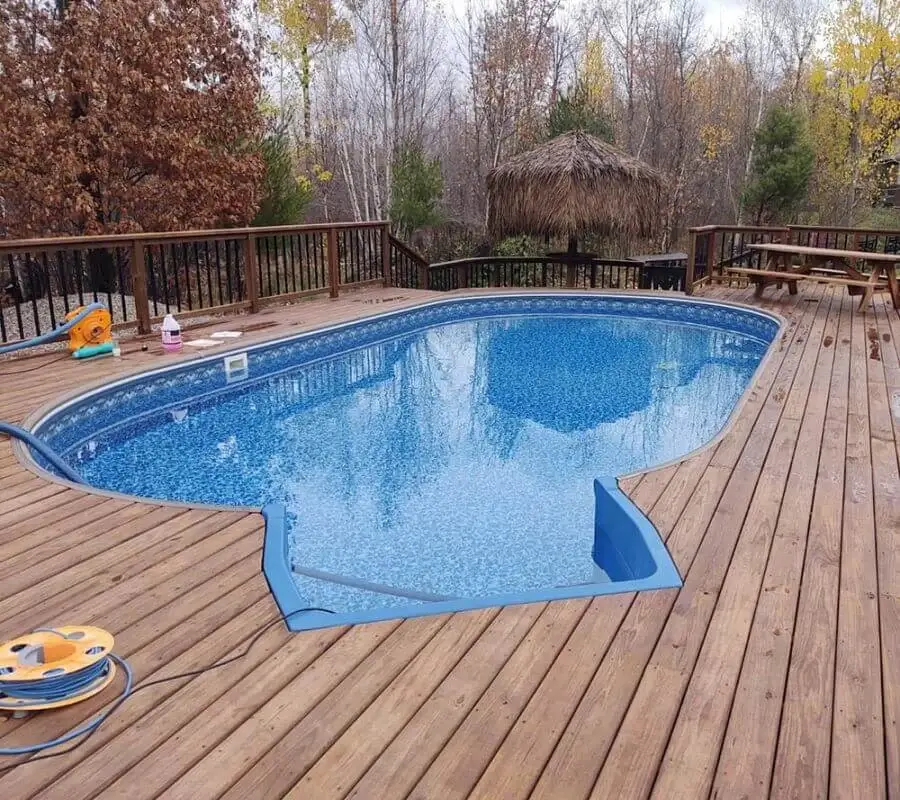
15 x 30 Stealth using the Coco Brown Coping Deck Receiver, note the deck work around the step
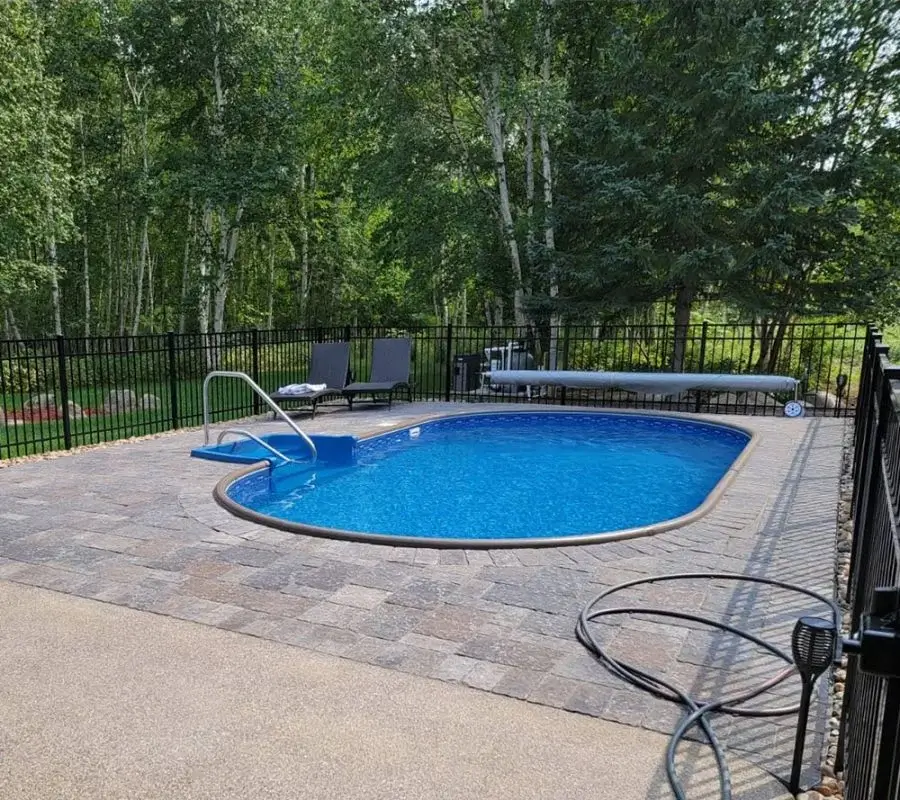
12 x 24 Stealth showing Paver Patio installed using the Cocoa Coping Deck Receiver. This customer poured a concrete footing under the paver patio in the area of the optional Stainless Steel handrail. Also, note the equipment location, in this case they upgraded to the fully in ground self priming pump due to the elevation and distance.
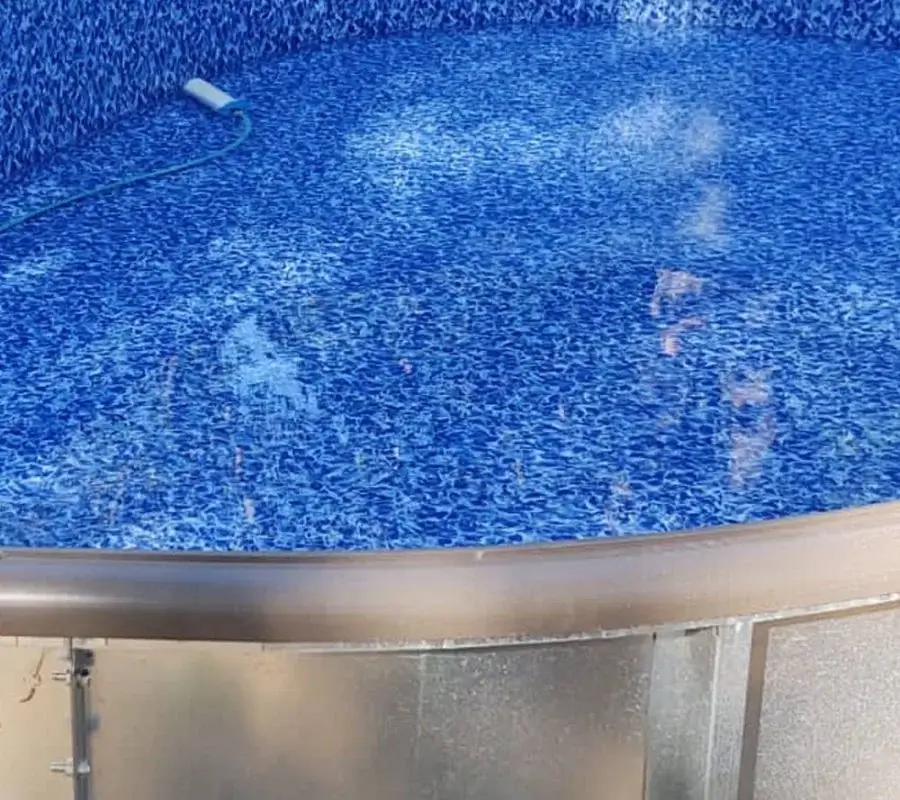
You will notice the #8 bond beam that runs around the pool, this is Electrical Code for Minnesota. This ties into anything that may need electrical bonding. Consult your local Electrical Inspector as we have seen variations of requirements.
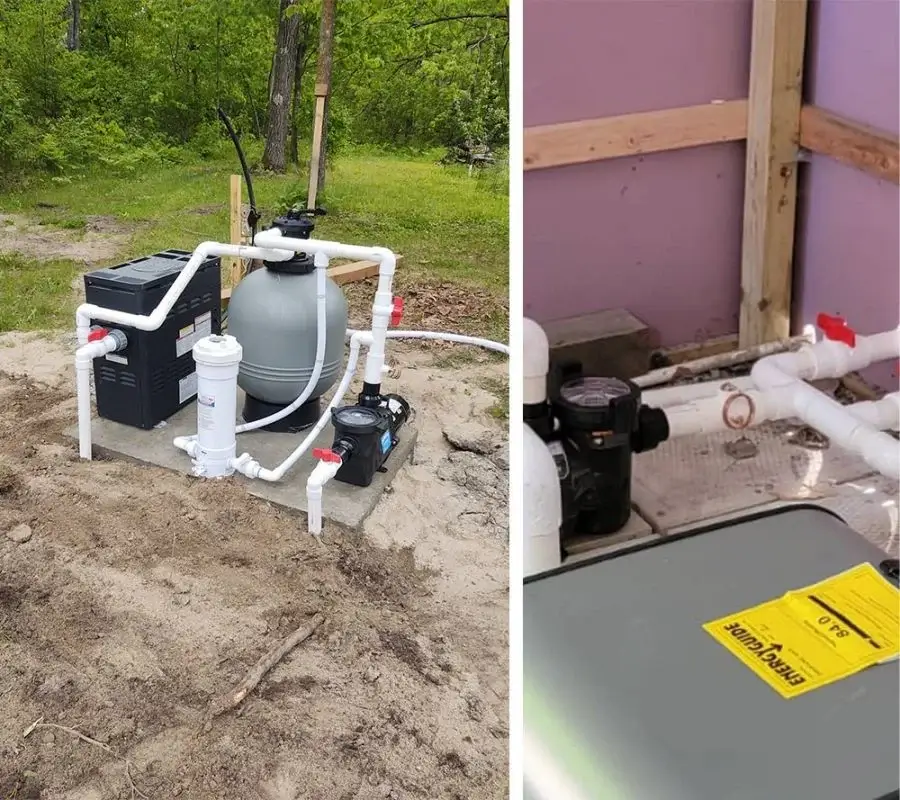
STEALTH ELECTRICAL
These two photos show a normal Stealth Equipment Setup, you will notice the water bond provided by us, as well as the equipment. The typical Stealth pump and heater plug into a dedicated 20 Amp Circuit. If you upgrade your pump to a self priming pump, that will require direct wire and that pump is a 115/230v. Also, required for the LED light is a transformer, Intermatic PX100 or PX50 as the LED light is 12V AC, 5 Watt. We do not provide the transformer, but we will stub the LED light wire up to the equipment area for the Electrician to install to the provided transformer. The heater in the picture will need to be plumbed for gas, LP or NG, 3/4″ npt. If you have opted for the optional UV/Ozone system, that system is a 110v system as well similar to the supplied pump and heater. (The electrical for the heater is only for the LCD display and electronic ignition, all heaters supplied are gas powered for heat)
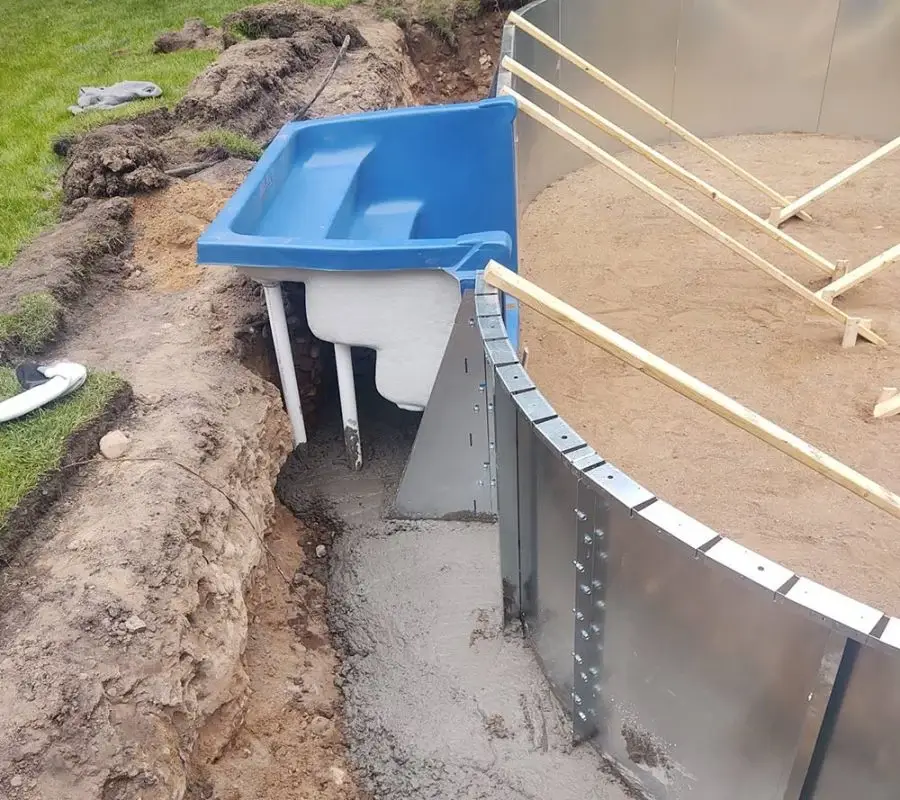
This picture shows what the end of the first day of a Stealth installation will look like. You will notice the wall supports inside the pool as well as the sand bottom and the concrete bond beam structure outside the pool wall. You will want this area to be backfilled with clean drainable material and have a plan in place for water control if necessary.
